
KidSpace Launch’s Hands on STEM for Kids
The Baking Soda Rocket
This classic home made baking soda rocket uses a chemical reaction between Baking Soda and Vinegar to create a “FUEL” for our rocket to lift off. In this case the fuel is CO2 (Carbon Dioxide). The experiment is simple, fun and you can get as creative as you want with your rocket design.

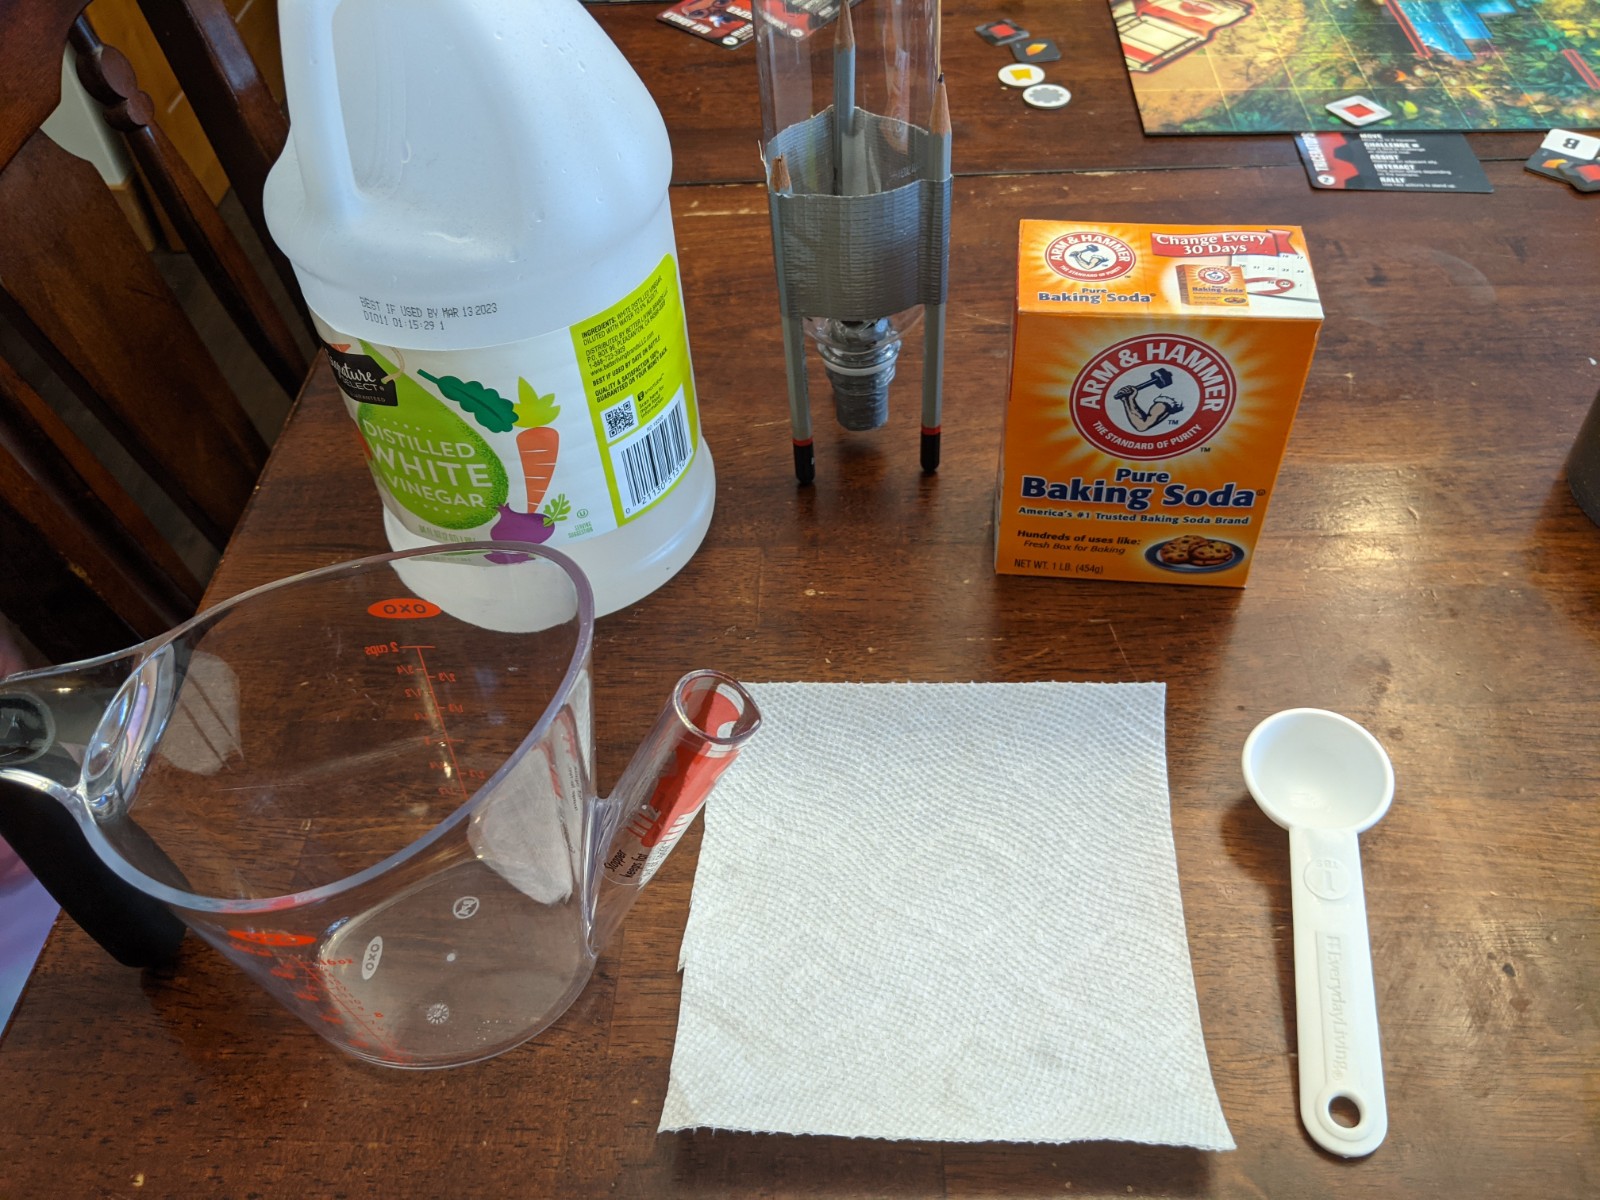
Materials Needed. (plus corks or balloons)
Step 1: Space the legs onto the tape.

Step 2: Tape the legs to the bottle, opening facing down.

Step 3: Optional design. Add a nose cone to your bottle.

Step 3: Cut off the top of another bottle and glue it to the bottom. Like so…
Step 4: Now to make the fuel!
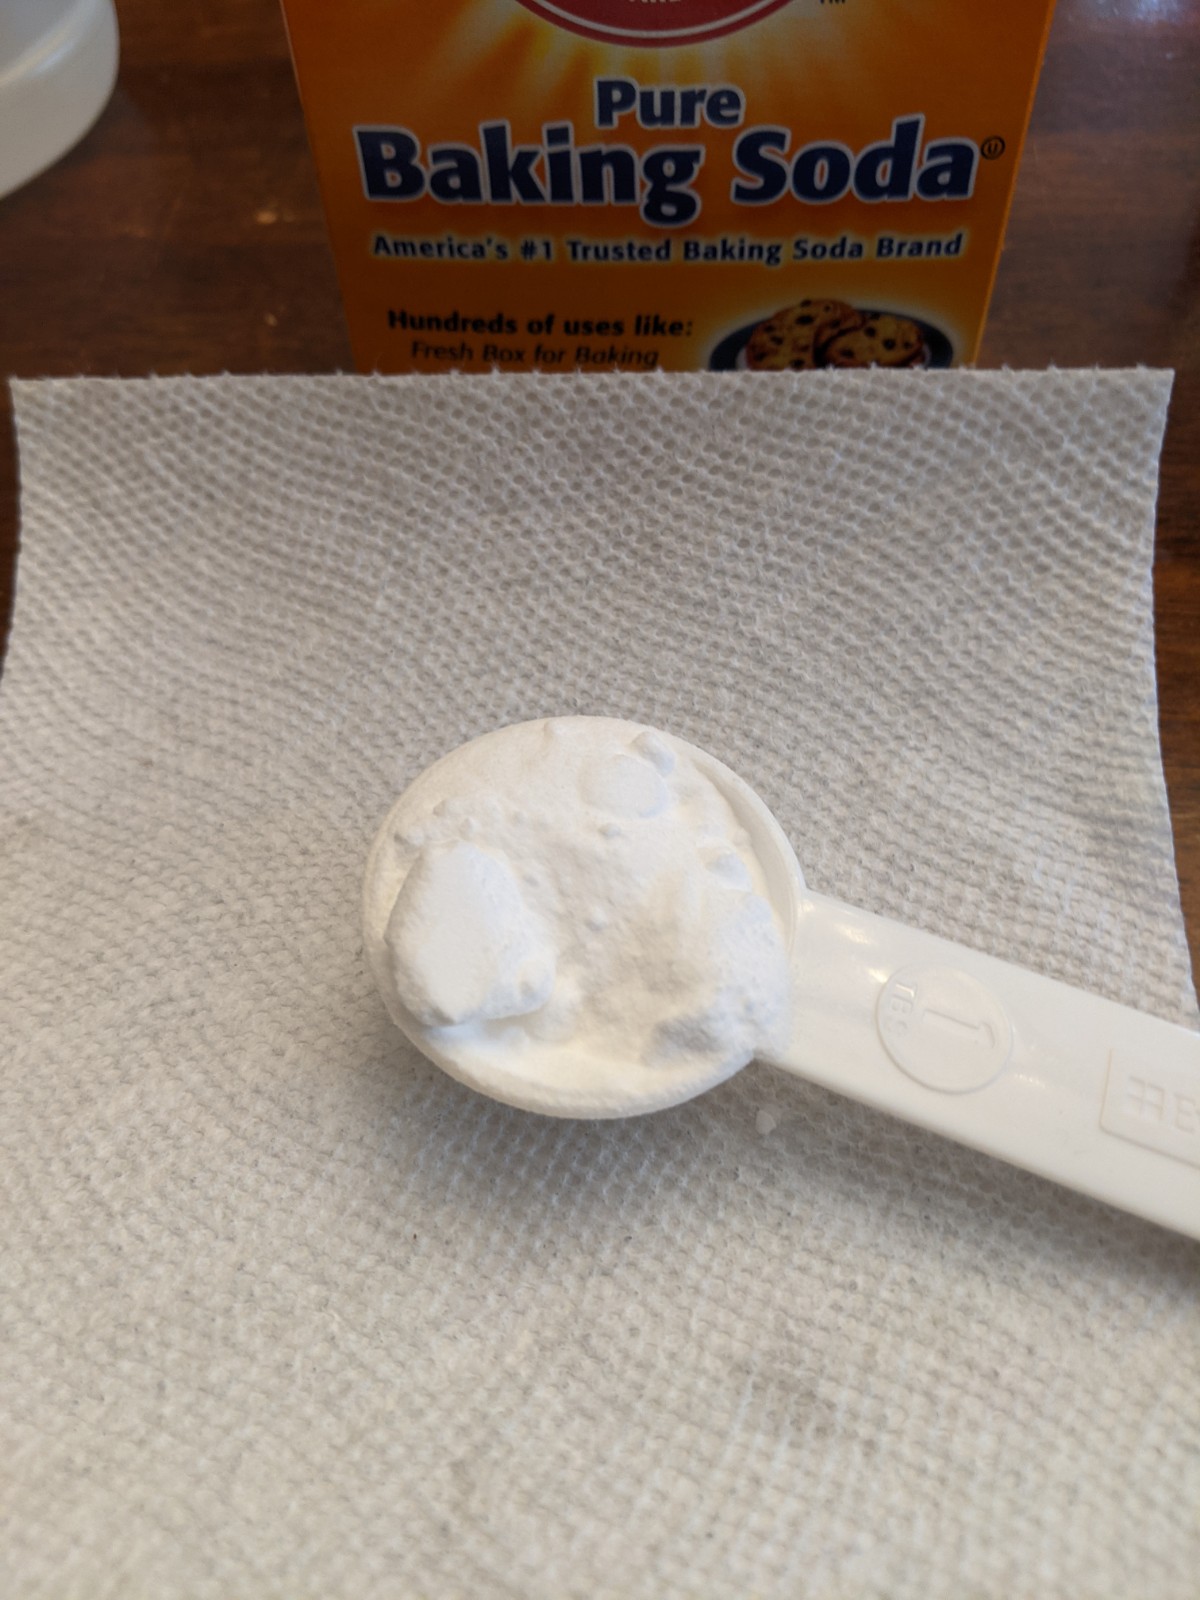
Step 4: Place 1 Tablespoon of Baking soda into a paper towel square.
Materials List:
- A plastic bottle. (Preferably one from your recycling bin).
- A cork or rubber stopper that fits snuggly into the open bottle.
- White vinegar
- Baking Soda
- 3 or 4 pencils (Also old ones you can use these again)
- Heavy tape or Duct Tape.
- Paper towels
- A pair of scissors
- Decorations. GO wild. Cardboard makes great fins, paint it up, have fun.
- Probably an adult to make sure no one gets hurt…or maybe the kids make sure the adults don’t get hurt.
Step 1: Tape the pencils to the top of the bottle facing up. Space them evenly around the bottle to create legs. The opening will face down as the rocket jet.
Extra Math for fun: The circumference of the bottle is 2πr (r=radius) If your bottle is 2.25” across the bottom (diameter) then the radius is half that (1.125”). So the circumference is 2π(1.125)= 7.06” If you have 3 pencils. 1/3 of 7.06 = 2.35” apart. Now you know your tape should be 7.06” and the pencils should be spaced 2.35” apart.
Step 2: Add some artwork to your rocket. I cut off another bottle top and used it as a nose cone. Use your imagination and make it beautiful. It’s yours! If you’re going to the moon you want to arrive in style!
Step 3: Add half the bottle of white vinegar.
Chemistry: I used a 500ml bottle. So I added 250ml of vinegar to the bottle. You will want a ratio of 1 tablespoon of baking soda per 250ml of vinegar to get a good lift. But you can play with the mixture to see what makes it go higher. SCIENCE!!!
Step 4: Add 1 tablespoon of baking soda to your paper towel. Roll it into a burrito. This is your fuse. Be sure the end is folded in to prevent leaking.
Chemistry: The paper towel will absorb the vinegar before it reaches the baking soda. This gives you time to back up before the chemical reaction between the vinegar and baking soda begins. Once the reaction has begun, the Vinegar and baking soda will create Carbon Dioxide gas. This gas rapidly expands.
*Tips: Make sure the corks fit your bottle snug but not too tight. Should pull out easily. You need room for the fuse. If you have no cork…you can use a small balloon and rubber band around the bottle opening. Poke a small hole in the balloon for a release valve.
Step 5: Go outside. This is gonna get a little messy! You place the baking soda burrito (Fuse) into the bottle and hold it in place with the cork. If you did it right…the baking soda will not leak into the vinegar and the chemical reaction will not begin yet.
Step 6: Turn it over and place it on the ground and back away quickly. The vinegar will combine with the baking soda and the carbon dioxide will fill up the bottle. The pressure will expand. The gas will look for an escape route. The cork will give way and release the gas. And BOOM!
Physics: Sir Issac Newton figured out that for every action there is an equal and opposite reaction. The gas exploding out of the bottle downward causes the bottle to go the opposite direction….UP!
Congratulations!!! You have now launched a rocket.
Early Launch of the Baking Soda Rocket. In version 1, I poured the baking soda directly into the vinegar. This works….but not as controlled as the baking soda burrito method. The burrito is like a fuse. It slows down the reaction between vinegar and baking soda and gives you time to step away. I recommend option 2. As you can see it is also much neater…until the explosion.
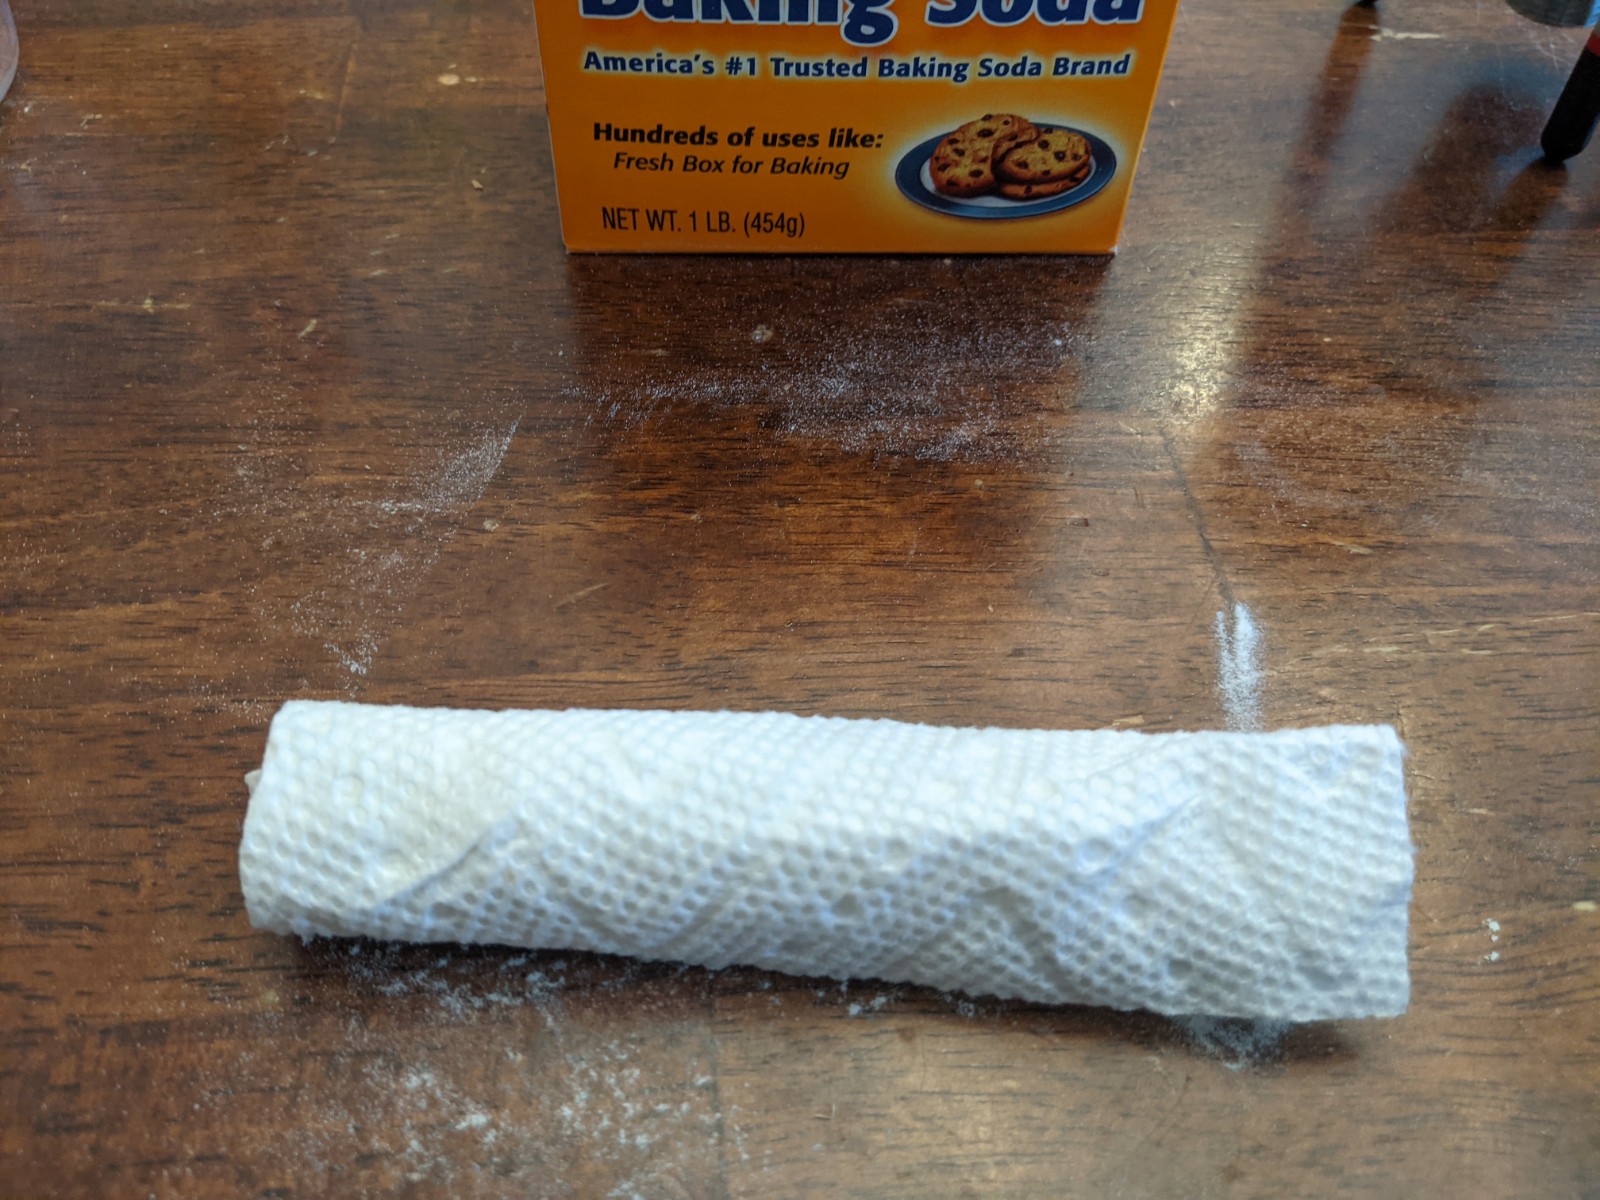
Step 5: Roll the paper towel into a burrito. Tuck the ends in to prevent it spilling out.
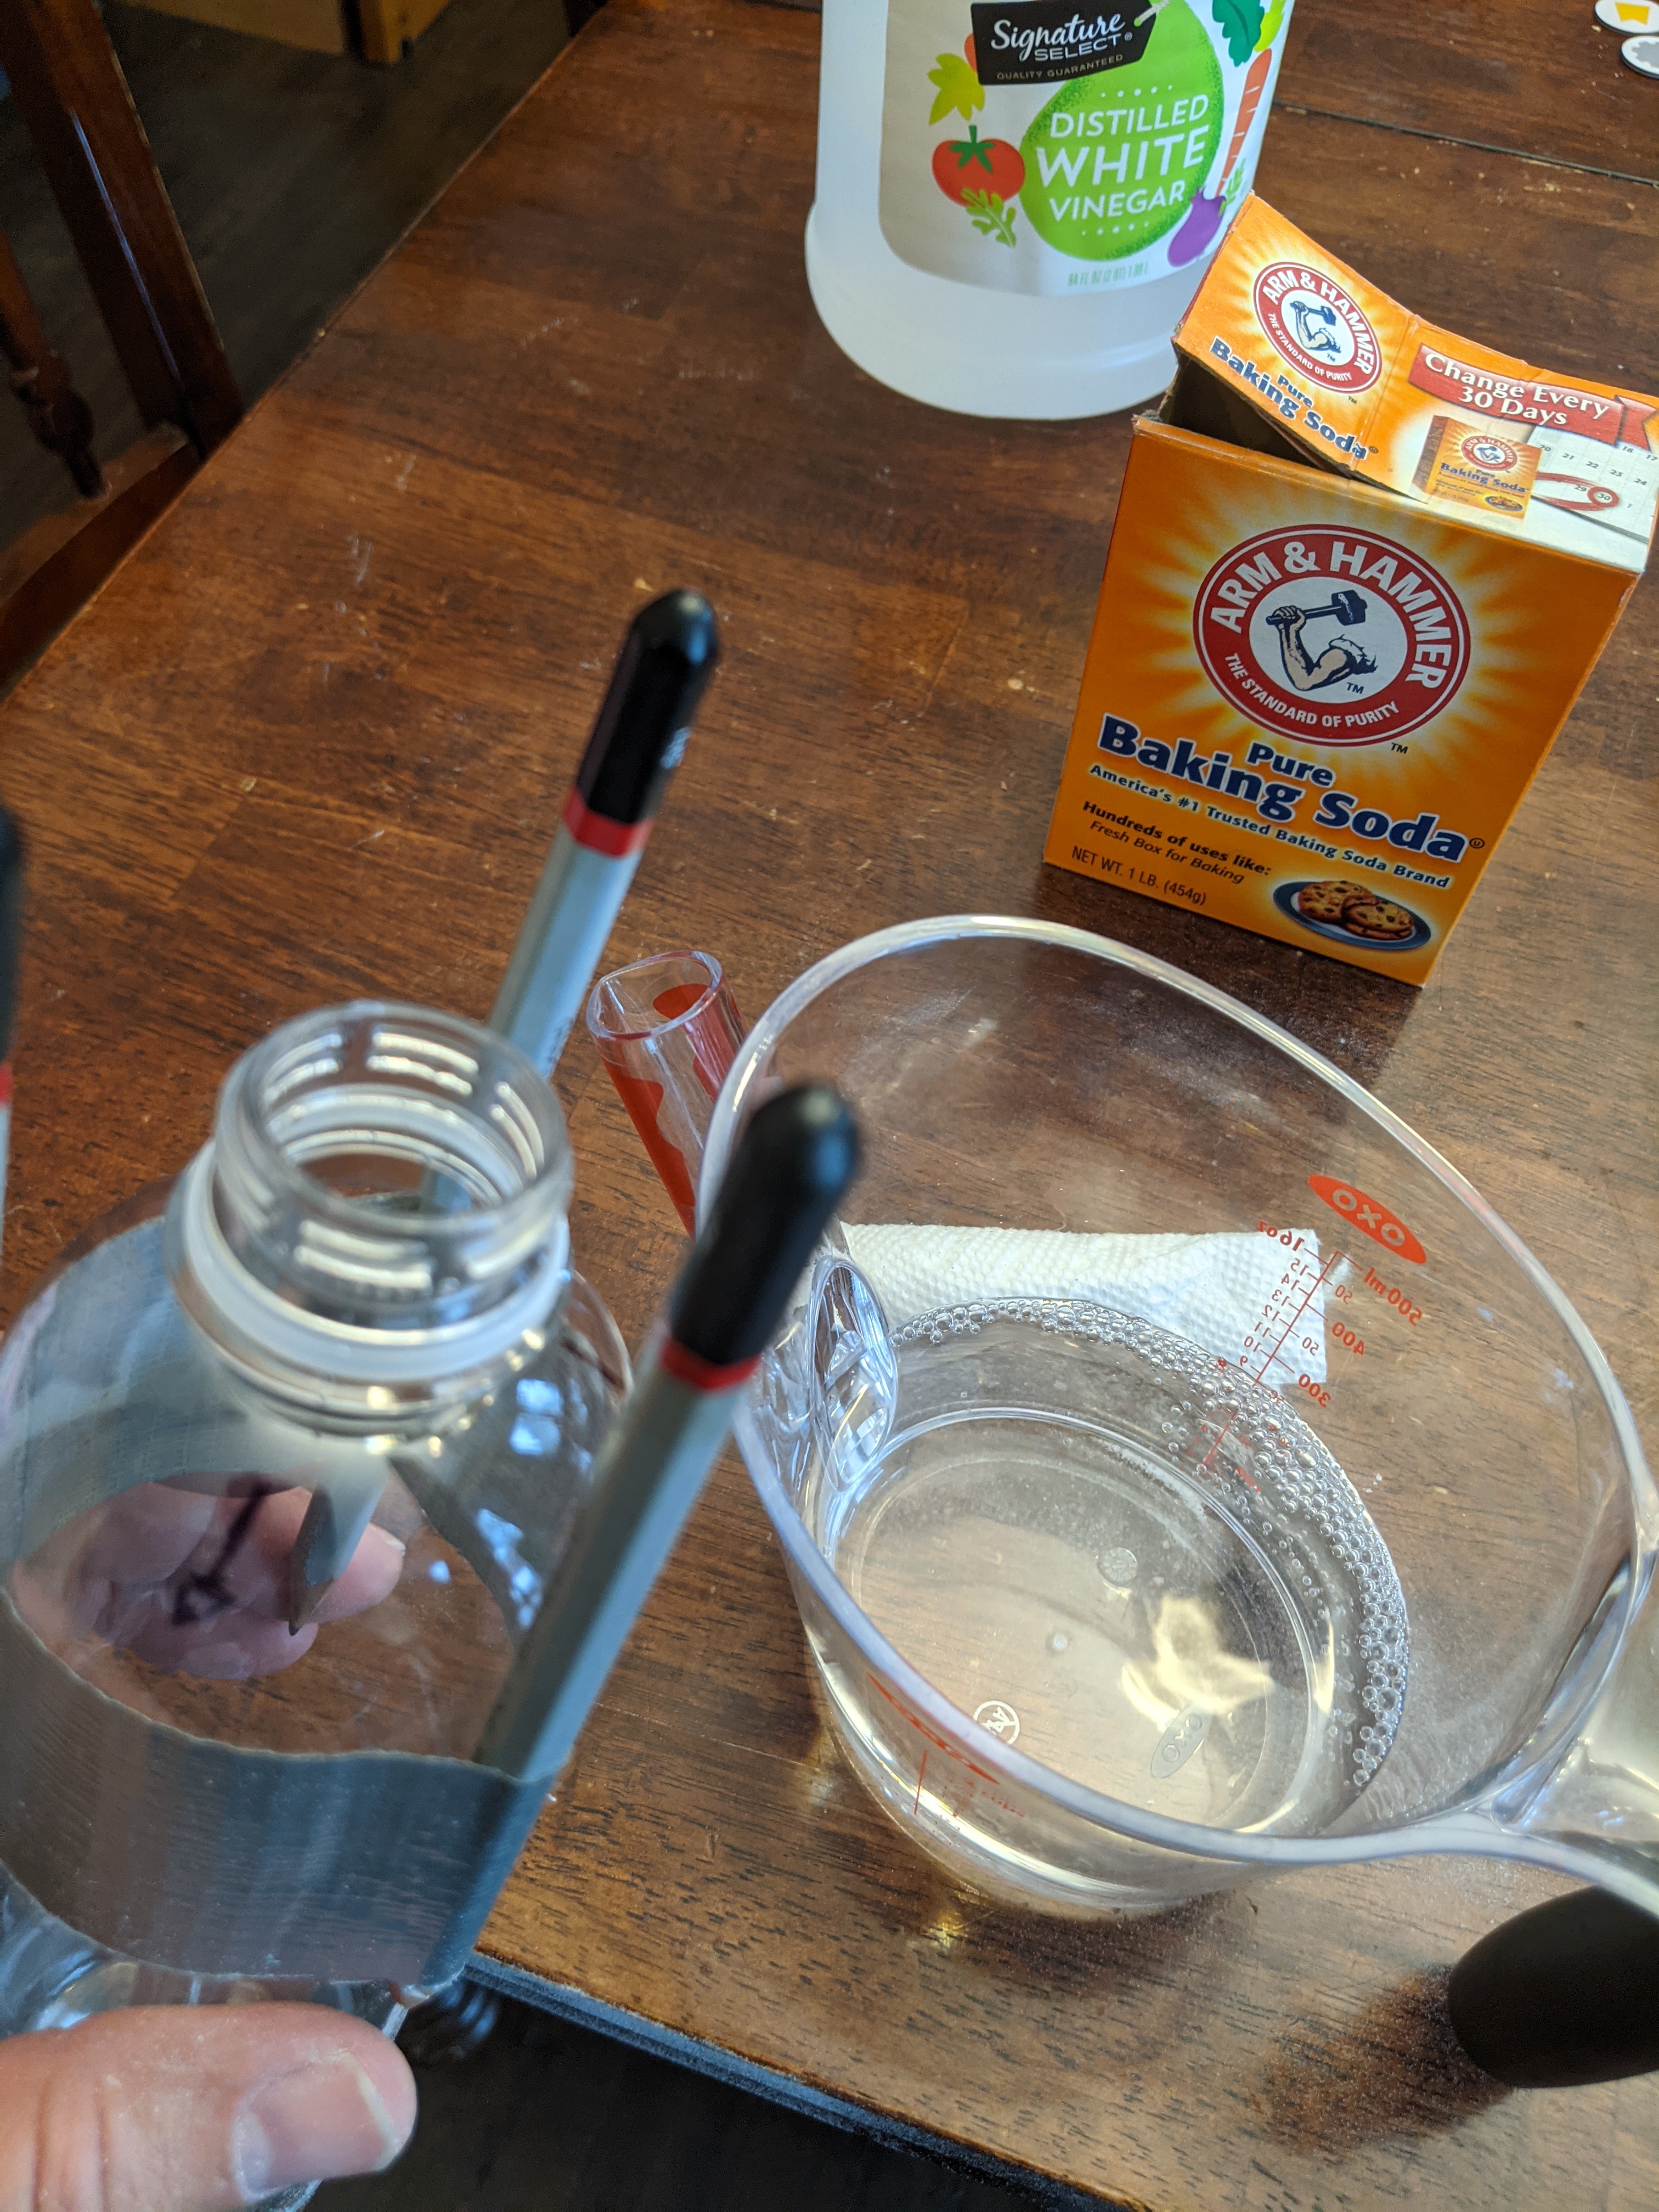
Step 6: Pour the Vinegar into the rocket fuel tank.
Step 7: Time to go outside!!!
Step 8: Place the burrito into the opening and secure it in place using the cork. DO NOT LET THE BAKING SODA TOUCH THE VINEGAR!!!!
Step 8: Place the burrito into the opening and secure it in place using the cork. DO NOT LET THE BAKING SODA TOUCH THE VINEGAR!!!!
Step 9: Turn the rocket over and place it down on the ground (Quickly). Step away and count to…5.
The Air Cannon Rocket
This rocket requires a little more effort. We are going to build a launcher for a paper rocket powered by air pressure only. You’ll need an adult to make the parts for you but then its pretty simple. Using recycled or found parts from around the house is always best. And don’t forget to recycle the launcher after you are done.
This video link to NASA JPL is great. You can find tons of STEM projects at their website as well https://www.jpl.nasa.gov/edu/teach/activity/stomp-rockets/
Materials List:
- A Large plastic bottle. (Preferably one from your recycling bin).
- PVC 1″ tubes or something similar
- Construction paper
- scotch tape or Elmer’s glue…maybe both
- A pair of scissors
- Decorations. GO wild. craft paper makes for sturdy add-ons like fins or windows.
- Probably an adult to make sure no one gets hurt…or maybe the kids make sure the adults don’t get hurt.
